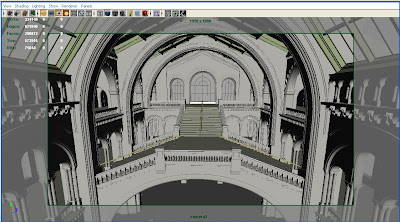
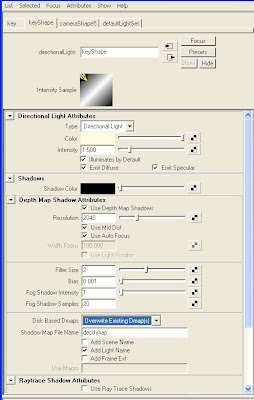
set the render settings as resolution 1920*1080, preview quality with raytrace off. We are going to use only depth map shadows. lets start the lighting. First we need to set sun light/key light by using directional light. create a directional light. adjust the light to cast afternoon kind of shadow.( usually afternoon shadows are short in length and very krisp. These should be 1:0.75 in length comparative to the object length. directional light settings should be like this..
match key direction to this image
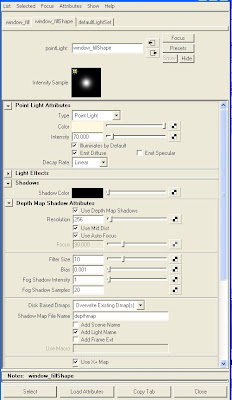
Now setup lights to get soft occluding geometry shadows on the front side wall. For this use point lights with dmap shadows with high filter size. These light attributes should be like this.
and render should be like this
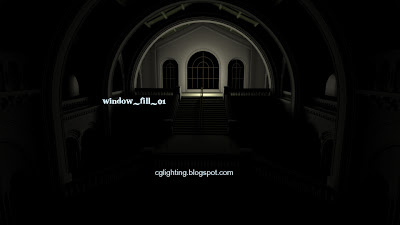
set three more fill lights with same settings and change decay rate accordingly after setting up all the key lights the set should look like this.
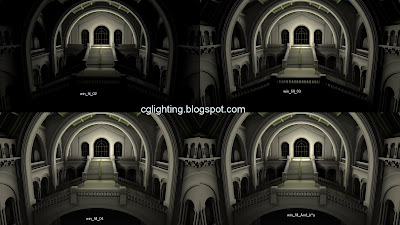
Now you can see soft occlusion kind of shadows on the occluding walls archs etc..
And this method is useful whenever you light and render heavy BGs with complex geometry. You can save lot of time against mentalRay Ambiant occlusion caliculation. I rendered full HD resolution(1920*1080)in less than 3 minutes!


3 comments:
OMG this is going in my BookMarks this maya tutorial is Amazing the Lights are soooo goood
really amazing software First we need to set sun light/key light by using directional light. create a directional light to download this software
Windows 8.1 Activator
really amazing Software Full Version to use and very easy to understand.
Post a Comment